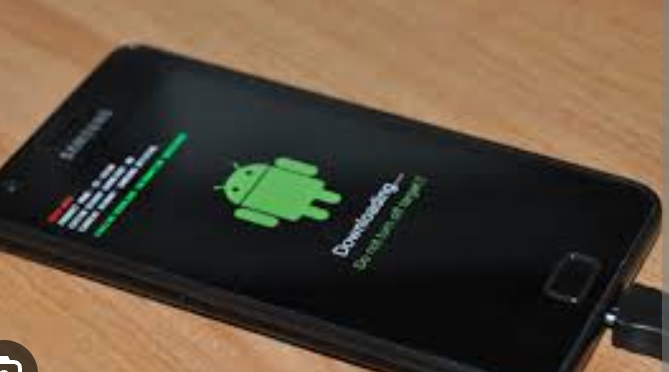
How to flash Android Phones
Flashing an Android phone refers to the process of installing a new firmware or custom ROM onto the device, which can bring new features, improved performance, and enhanced customization options.
While flashing can provide exciting opportunities for Android enthusiasts, it also involves some risks. This comprehensive guide will walk you through the process of flashing your Android phone, covering the necessary preparations, precautions, and step-by-step instructions to ensure a successful flash.
Disclaimer:
Before proceeding with any firmware flashing or modification, it’s crucial to understand that flashing your Android phone may void its warranty, expose it to security risks, or even result in a bricked device. Proceed at your own risk, and always take adequate precautions.
Part 1: Preparations
Research and Gather Information:
Identify your device model and variant.
Research compatible custom ROMs or firmware versions suitable for your device.
Backup Your Data:
Create a complete backup of your Android phone, including contacts, messages, media, and app data.
Store the backup on an external device or cloud storage to prevent data loss during the flashing process.
Enable Developer Options and USB Debugging:
Navigate to Settings > About Phone and tap on the “Build Number” seven times to unlock Developer Options.
Open Developer Options and enable USB Debugging. This allows communication between your device and the computer during the flashing process.
Part 2: Unlocking the Bootloader (if required)
Research Bootloader Requirements:
Determine if your device requires unlocking the bootloader before flashing.
Search for official instructions specific to your device, as the process may vary.
Bootloader Unlock Process:
Enable OEM Unlocking in Developer Options.
Connect your phone to the computer via USB.
Boot your device into Fastboot/Bootloader mode (typically done by pressing a specific key combination).
Install ADB and Fastboot tools on your computer.
Open a command prompt or terminal window and execute Fastboot commands to unlock the bootloader.
Part 3: Flashing Custom Recovery
Research Custom Recovery Options:
Find a custom recovery compatible with your device, such as TWRP (Team Win Recovery Project).
Download the appropriate custom recovery image file for your device.
Flashing Custom Recovery:
Boot your device into Fastboot/Bootloader mode.
Connect your phone to the computer via USB.
Open a command prompt or terminal window.
Execute Fastboot commands to flash the custom recovery image onto your device.
Part 4: Flashing Custom ROM or Firmware
Find and Download the Custom ROM or Firmware:
Visit reputable Android development forums or websites to find custom ROMs or firmware suitable for your device.
Ensure the custom ROM or firmware is compatible with your device’s model and variant.
Download the custom ROM or firmware file to your computer.
Transfer Custom ROM or Firmware to the Phone:
Connect your phone to the computer via USB.
Transfer the downloaded custom ROM or firmware file to your device’s internal storage or SD card.
Flashing the Custom ROM or Firmware:
Boot your device into recovery mode (usually done by pressing a specific key combination).
In the custom recovery interface, create a Nandroid backup of your current system (optional but recommended).
Perform a factory reset or wipe data and cache partitions.
Select the “Install” or “Flash” option and navigate to the location of the custom ROM or firmware file.
Confirm the flashing process and wait for it to complete.
Reboot your device.

